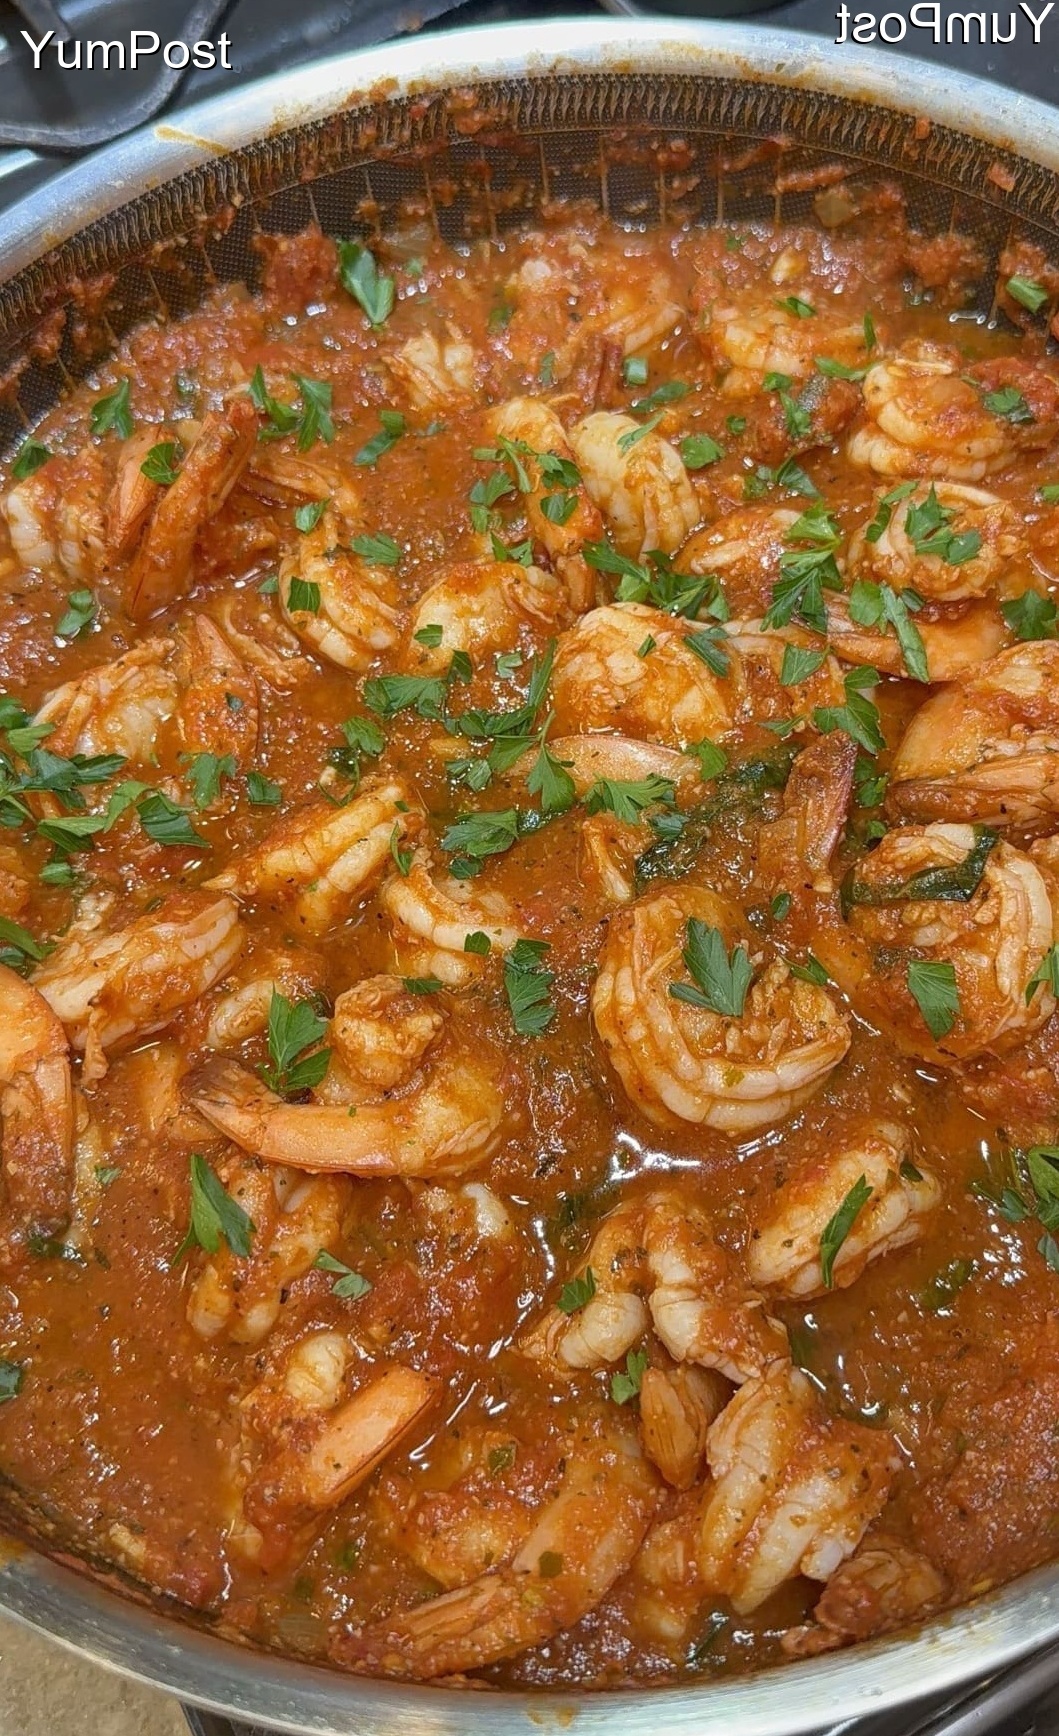

Keto Breakfast: DEVILED EGGS WITH BACON

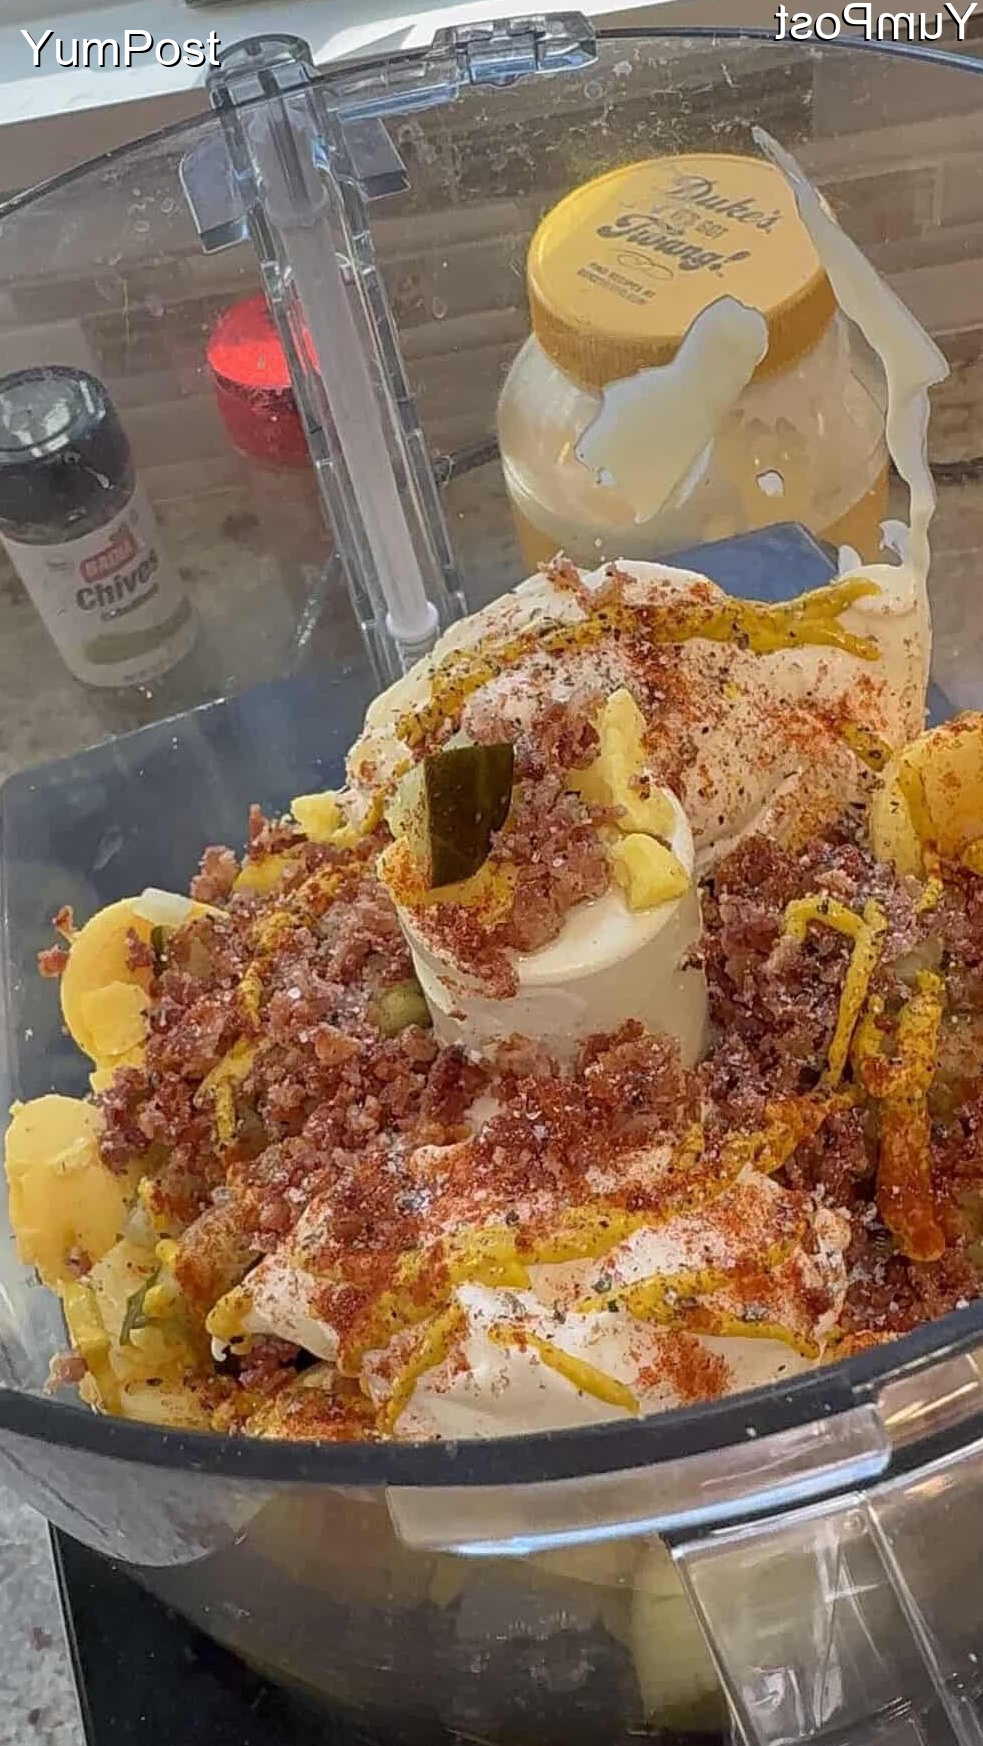
Keto Breakfast: DEVILED EGGS WITH BACON
Looking for an easy keto recipe? This dish is simple to make and will keep you satisfied for hours while staying in ketosis.
19 minutes | 47 minutes | Servings: 7 | 420 kcal per serving
This Keto Breakfast: DEVILED EGGS WITH BACON is the ultimate keto-friendly recipe that proves low-carb eating can be absolutely delicious! Perfect for anyone following a ketogenic lifestyle, this dish delivers all the flavor without the carbs.
This recipe is trending everywhere from TikTok to Instagram! It combines the convenience of easy air fryer recipes with incredible flavor.
Perfect for high protein meal prep, this dish keeps well and tastes even better the next day. Whether following a specific diet or eating healthier, this makes it easy and delicious.
Ingredients
- 12 Eggs Eggs
- 1⁄4 Cup Mayonnaise
- 2 Tbs Dill Pickle Relish
- 1 teaspoon Yellow Mustard
- Vinegar- just a small splash
- Salt and Pepper to taste
- 5 Strips Bacon, cooked and crumbled into small pieces save one strip for garnish
- Paprika for garnish
Instructions
Step 1
Place the eggs in a single layer in a pot and cover with cold water.
Step 2
Bring to a boil over medium-high heat.
Step 3
Once boiling, turn off the heat, cover, and let sit for 10–12 minutes.
Step 4
Transfer the eggs to an ice-water bath for 5 minutes and peel once they’re fully cooled.
Step 5
Slice each egg in half lengthwise.
Step 6
Carefully remove the yolks and place them in a mixing bowl.
Step 7
Set the whites on a plate or tray.
Step 8
Add the mayonnaise, mustard, vinegar, chopped bacon, relish, salt, and black pepper.
Step 9
Mix until smooth and creamy.
Step 10
Adjust seasonings to taste.
Step 11
Finally, spoon or pipe the yolk mixture into each egg white half.
Step 12
Garnish with a small crispy piece of bacon and a pinch of paprika.
Step 13: Refrigerate for at least 30 minutes so the filling sets and the flavors come together.
Pro Tip
Pro Tip
For best results, use fresh, high-quality ingredients. Store leftovers in the refrigerator for up to 3 days.
Expert Tips
Preparation is Key
Before you start cooking, make sure all your ingredients are prepped and ready to go. This makes the cooking process much smoother and helps you avoid any last-minute scrambling.
Quality Matters
Using fresh, high-quality ingredients makes a noticeable difference in the final dish. Don’t skip on this step – your taste buds will thank you!
Temperature Control
Pay attention to cooking temperatures and times. Every oven and stovetop is different, so use your judgment and adjust as needed.
Make It Your Own
Feel free to customize this recipe to suit your preferences. Add extra spices, swap ingredients, or adjust portion sizes – cooking is all about creativity!
Storage and Leftovers
This dish stores well in the refrigerator for up to 3-4 days. Reheat gently to maintain the best texture and flavor. You can also freeze portions for quick meals later.
Serving Suggestions
This pairs beautifully with a variety of sides. Consider serving with fresh bread, a crisp salad, or your favorite vegetables for a complete meal.
Nutritional Information
Calories: 207 kcal | Protein: 8g | Fat: 13g | Carbohydrates: 37g | Fiber: 4g | Sodium: 418mg
If you loved this recipe, share it with your amazing friends using the sharing buttons below so they can visit us too!