Old-Fashioned Custard Pie – Sweet Perfection
Introduction
Get ready to make an incredible Old-Fashioned Custard Pie that everyone will love! This recipe combines simple ingredients with great flavor to create something truly special. Perfect for any occasion, this dish is both delicious and easy to prepare.
Follow along as we show you how to make this wonderful recipe step by step!
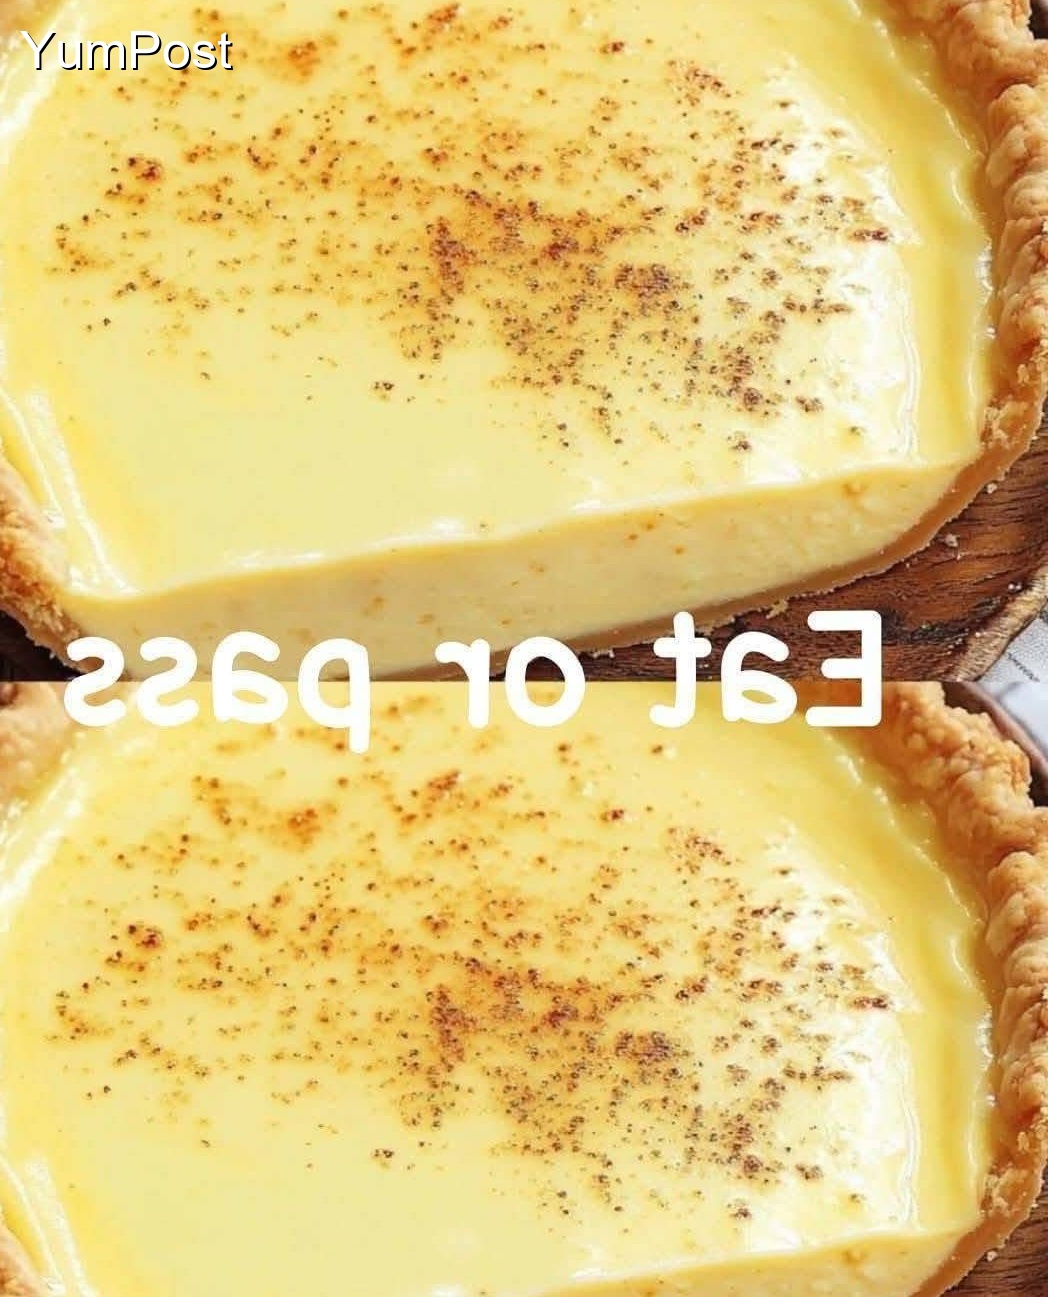
Of course! The Old-Fashioned Custard Pie is a testament to simple, pure flavors. It’s a humble, creamy, and incredibly comforting dessert with a rich history. Unlike a custard tart, this pie is often made without a top crust and has a delicate, quivering texture that is simply divine.
Here is a classic, tried-and-true recipe.
Old-Fashioned Custard Pie
This pie is all about technique. The goal is a smooth, creamy, and delicate custard without any bubbles or weeping.
Prep Time: 20 minutes
Cook Time: 50-60 minutes
Cooling Time: 3 hours (minimum)
Yields: One 9-inch pie (8 servings)
Ingredients
For the Crust
· 1 unbaked 9-inch pie crust, homemade or store-bought
· (If making from scratch: 1 ¼ cups flour, ½ tsp salt, ½ cup cold butter, 3-4 tbsp ice water)
For the Custard Filling
· 4 large eggs
· ½ cup granulated sugar
· ¼ teaspoon salt
· 1 teaspoon vanilla extract
· A pinch of freshly grated nutmeg (plus more for dusting)
· 2 ½ cups whole milk, warmed (see instructions)
· Ground nutmeg for topping
Instructions
Step 1: Prepare the Pie Crust
- Preheat your oven to 400°F (200°C).
- If using a homemade crust, fit it into a 9-inch pie plate and crimp the edges. Prick the bottom and sides all over with a fork (this is called “docking”).
- Optional, but highly recommended for a crisp crust: Line the unbaked crust with parchment paper or foil and fill with pie weights, dried beans, or rice.
- Blind Bake: Bake for 12-15 minutes until the edges are lightly golden. Remove the parchment and weights. If the bottom puffs up, gently press it down with a spoon.
- Remove from the oven and reduce the oven temperature to 325°F (165°C). Let the crust cool slightly while you make the filling.
Step 2: Make the Custard Filling
- Warm the Milk: Gently heat the milk in a saucepan until it is just warm to the touch (about 120°F/50°C). Do not boil. This helps the custard bake more evenly and smoothly.
- Whisk Eggs and Sugar: In a large bowl, whisk the eggs gently until just combined. You do not want to create a lot of foam.
- Combine Ingredients: Whisk in the sugar, salt, vanilla extract, and a pinch of nutmeg until smooth.
- Temper the Milk: This is the key to a smooth custard. Very slowly, while whisking constantly, pour the warm milk into the egg mixture. Whisk until everything is just combined.
Step 3: Strain and Fill
- Crucial Step: Place a fine-mesh strainer over a large liquid measuring cup or bowl. Pour the custard mixture through the strainer. This catches any curdled egg bits and ensures a perfectly silky texture.
- Skim off any tiny bubbles from the surface with a spoon.
- Carefully pour the strained custard into the pre-baked pie shell.
Step 4: Bake Low and Slow
- Grate a light, even layer of fresh nutmeg over the entire surface of the custard.
- Carefully place the pie on the center oven rack. To prevent the edges from over-browning, you can use a pie crust shield or make one from strips of aluminum foil.
- Bake at 325°F (165°C) for 45-55 minutes. The pie is done when the edges are set but the center still has a slight jiggle—like Jell-O—when you gently shake the pan. A knife inserted near the center should come out clean.
- Do not overbake! The custard will continue to set as it cools.
Step 5: Cool Completely
- Place the pie on a wire cooling rack and let it cool to room temperature. This will take at least 2-3 hours.
- Once at room temperature, refrigerate for at least 2-3 more hours (or overnight) before slicing. This allows the custard to fully set and makes for clean slices.
Chef’s Notes & Tips for Success
· The Secret to No Bubbles: Whisk gently, strain the custard, and skim off bubbles. This is what gives you that classic, smooth, old-fashioned surface.
· Why Warm Milk? Adding cold milk to the eggs can cause the fat in the crust to solidify, leading to a soggy bottom. Warm milk helps the custard start cooking immediately and promotes even setting.
· Preventing a Soggy Bottom: Pre-baking (blind baking) the crust is non-negotiable for a custard pie. It creates a barrier that the liquid custard can’t soak through.
· The “Jiggle” Test: Trust the jiggle test more than the clock. An overbaked custard will become watery and rubbery as it releases its moisture (this is called “weeping”).
· Flavor Variations:
· Buttermilk Pie: Substitute 1 ¼ cups of buttermilk for an equal amount of the whole milk for a delightful tang.
· Coconut Custard Pie: Add 1 cup of sweetened shredded coconut to the filling.
· Storage: Keep the pie covered in the refrigerator for up to 3 days.
Serve this timeless classic cool, all on its own, to truly appreciate its delicate and comforting flavor. Enjoy!
Conclusion
Congratulations on making this delicious Old-Fashioned Custard Pie! We hope you and your loved ones enjoyed every bite of this flavorful dish. This recipe is perfect for sharing with family and friends, and we’re confident it will become a regular favorite in your kitchen.
🍽️ Looking for more amazing recipes? Browse through our collection of delicious dishes on YumPost! From quick weeknight dinners to impressive desserts, we have something for every taste and occasion.
💬 Did you love this recipe? We’d love to hear from you! Share your experience in the comments below and let us know how it turned out. Your feedback helps us create even better recipes for you!
Share This Recipe
If you enjoyed this Old-Fashioned Custard Pie, please share it with your friends and family! Help us spread the joy of delicious homemade cooking by sharing this recipe on your favorite social media platforms. Your support means the world to us! ❤️
Don’t forget to explore more recipes on our website and discover your next culinary adventure!