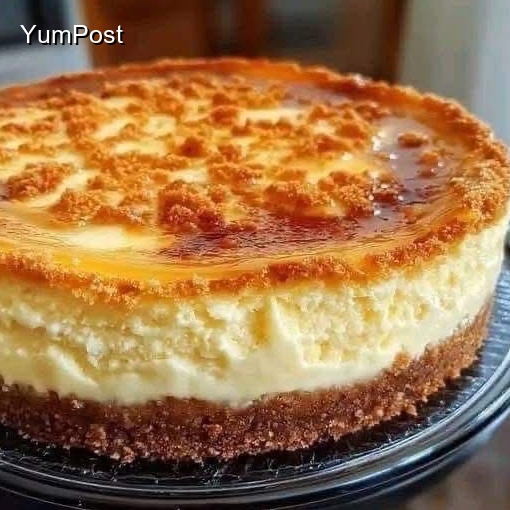
Layered Cream, Biscuit & Fruit Dessert – Sweet Perfection

Introduction
Get ready to make an incredible Layered Cream, Biscuit & Fruit Dessert that everyone will love! This recipe combines simple ingredients with great flavor to create something truly special. Perfect for any occasion, this dish is both delicious and easy to prepare.
Follow along as we show you how to make this wonderful recipe step by step!
Of course! You’re describing a classic, easy, and incredibly delicious dessert that goes by many names, like “Lazy Daisy Pudding,” “Berry Cream Delight,” or a “No-Bake Fruit and Cream Trifle.” It’s made by layering creamy filling, fruit, and biscuits (like cookies or graham crackers).
Here is a fantastic and versatile recipe for a No-Bake Layered Berry & Cream Dessert.
No-Bake Layered Berry & Cream Dessert
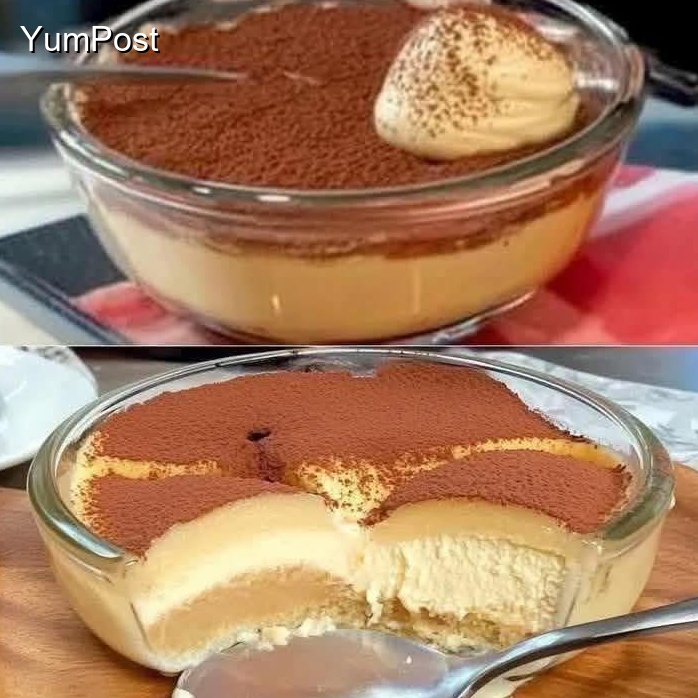
This dessert is light, refreshing, and perfect for summer. The biscuits soften into a cake-like layer, making it similar to a trifle but easier to assemble.
Prep Time: 20 minutes
Chill Time: 4+ hours (best overnight)
Serves: 9-12
Ingredients
For the Cream Layer:
· 1 (8 oz) block cream cheese, softened to room temperature
· 1 cup powdered sugar
· 1 teaspoon vanilla extract
· 1 (8 oz) tub frozen whipped topping (like Cool Whip), thawed – or 2 cups of freshly whipped heavy cream
For the Fruit Layer:
· 3-4 cups of fresh mixed berries (strawberries-sliced, blueberries, raspberries, blackberries)
· Alternative: 2 (15 oz) cans of fruit pie filling (cherry, blueberry, or peach)
For the Biscuit/Cookie Layer:
· 1 (14-16 oz) package of “tea biscuits” or “petit beurre” biscuits, or 1 sleeve of graham crackers
· Optional: ¼ cup of melted butter (if you want a more solid, cheesecake-like crust)
For Garnish (optional):
· Additional berries or mint leaves
Instructions
- Prepare the Pan: Lightly grease a 9×13-inch baking dish or a similar-sized trifle bowl.
- Make the Cream Cheese Layer:
· In a large bowl, use an electric mixer to beat the softened cream cheese until it’s smooth and creamy.
· Add the powdered sugar and vanilla extract, and beat again until fully combined and smooth.
· Using a spatula, gently fold in the thawed whipped topping (or your freshly whipped cream) until no white streaks remain. Set aside. - Prepare the Biscuits:
· If using a 9×13 dish: If you used melted butter, you can press a single layer of biscuits into the bottom to form a crust. However, the classic “no-bake” method is to simply lay the biscuits in a single, tight layer at the bottom of the dish, breaking them to fit as needed.
· If using a trifle bowl: You will be creating vertical layers. Start by placing a layer of biscuits to cover the bottom. - Assemble the First Layers:
· Spread half of the cream cheese mixture evenly over the layer of biscuits.
· Scatter half of your fresh berries (or spread one can of pie filling) over the cream layer. - Repeat the Layers:
· Place another layer of biscuits on top of the fruit.
· Spread the remaining cream cheese mixture over the biscuits.
· Top with the remaining berries or pie filling. - Chill:
· Cover the dessert tightly with plastic wrap and refrigerate for at least 4 hours, but ideally overnight. This is the most crucial step! It allows the biscuits to soften and absorb moisture from the cream and fruit, transforming into a soft, cake-like texture. - Serve: Just before serving, garnish with extra berries or mint. Scoop or slice and enjoy!
Variations & Pro Tips
· Different Fruits: This is incredibly versatile. Use sliced peaches, mandarin oranges, or even crushed pineapple (make sure to drain canned fruit well).
· Different “Biscuits”:
· Graham Crackers: A very common and delicious choice.
· Vanilla Wafers: Adds a lovely buttery flavor.
· Ladyfingers: Will make it taste like a no-bake tiramisu.
· Lighter Version: Use Neufchâtel (low-fat cream cheese) and sugar-free whipped topping.
· Don’t Skip the Chill: The dessert will be crunchy and separated if you serve it too soon. The long chill is what makes it magical.
· For a Parfait: Layer the ingredients in individual glasses for a beautiful, pre-portioned dessert.
This dessert is a guaranteed crowd-pleaser and could not be simpler to make. Enjoy your beautiful and delicious layered creation
Conclusion
Congratulations on making this delicious Layered Cream, Biscuit & Fruit Dessert! We hope you and your loved ones enjoyed every bite of this flavorful dish. This recipe is perfect for sharing with family and friends, and we’re confident it will become a regular favorite in your kitchen.
🍽️ Looking for more amazing recipes? Browse through our collection of delicious dishes on YumPost! From quick weeknight dinners to impressive desserts, we have something for every taste and occasion.
💬 Did you love this recipe? We’d love to hear from you! Share your experience in the comments below and let us know how it turned out. Your feedback helps us create even better recipes for you!
Share This Recipe
If you enjoyed this Layered Cream, Biscuit & Fruit Dessert, please share it with your friends and family! Help us spread the joy of delicious homemade cooking by sharing this recipe on your favorite social media platforms. Your support means the world to us! ❤️
Don’t forget to explore more recipes on our website and discover your next culinary adventure!