Cherry Cheesecake Lush Layers – Sweet Perfection
Introduction
Get ready to make an incredible Cherry Cheesecake Lush Layers that everyone will love! This recipe combines simple ingredients with great flavor to create something truly special. Perfect for any occasion, this dish is both delicious and easy to prepare.
Follow along as we show you how to make this wonderful recipe step by step!
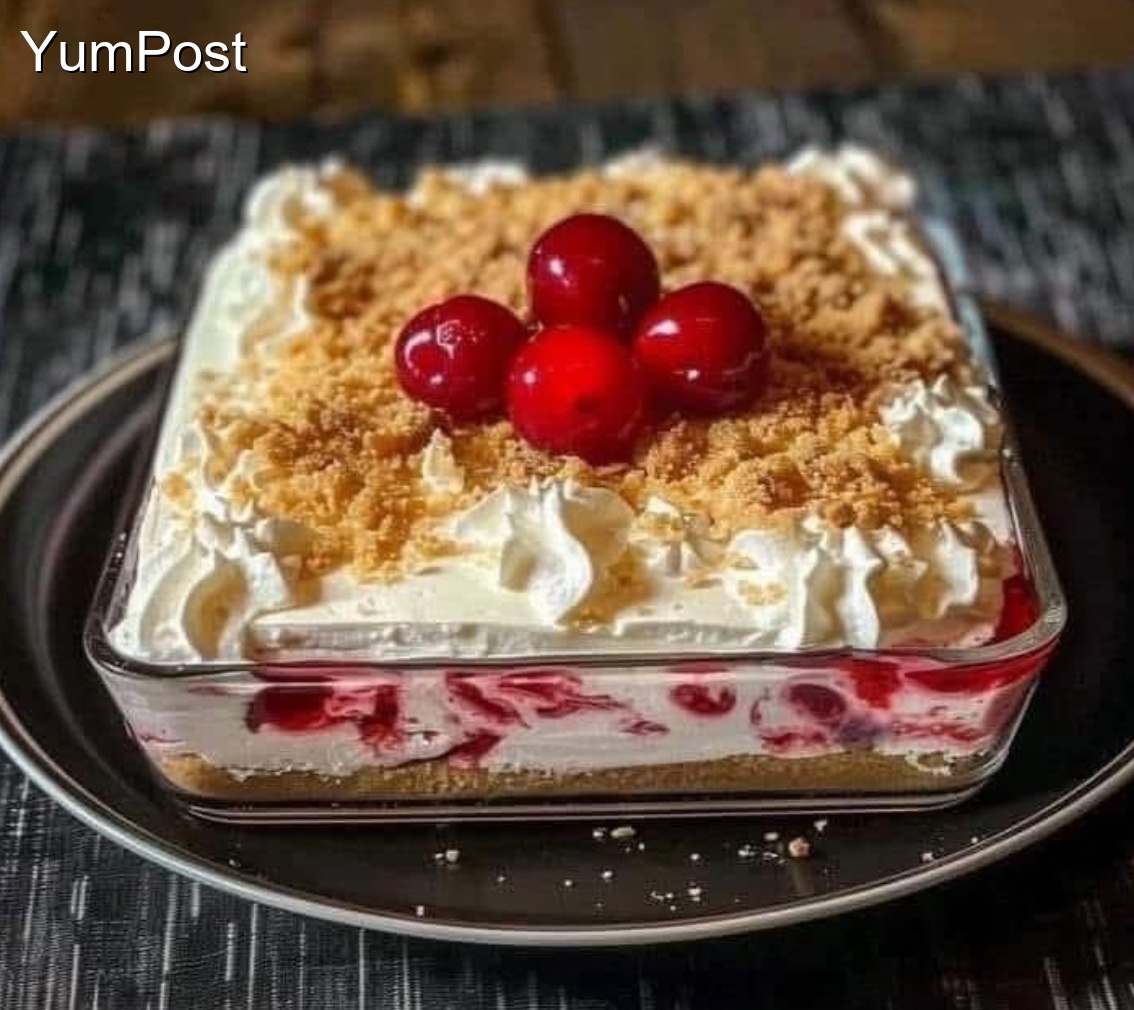
Of course! The Cherry Cheesecake Lush is a classic, no-bake dessert that’s incredibly easy to make and always a crowd-pleaser. It features layers of crunchy crust, creamy cheesecake filling, fluffy whipped topping, and cherry pie filling.
Here’s the traditional recipe with tips for perfection.
Cherry Cheesecake Lush
This no-bake dessert is all about the layers, offering a perfect bite of texture and flavor in every spoonful.
Prep Time: 30 minutes | Chill Time: 4+ hours (or overnight) | Servings: 12-16
Ingredients
For the Crust Layer:
· 1 ½ cups Graham Cracker Crumbs (about 12 full sheets)
· ⅓ cup Granulated Sugar
· 6 tbsp Butter, melted
For the Cheesecake Layer:
· 1 package (8 oz) Cream Cheese, softened to room temperature
· 1 cup Powdered Sugar
· 1 teaspoon Vanilla Extract
· 1 tub (8 oz) Cool Whip (or an equal amount of sweetened homemade whipped cream), thawed
For the Topping Layers:
· 1 tub (8 oz) Cool Whip (or homemade whipped cream)
· 1 can (21 oz) Cherry Pie Filling
Instructions
Step 1: Prepare the Crust
- In a medium bowl, mix the graham cracker crumbs and granulated sugar.
- Pour in the melted butter and stir until the mixture is evenly moist and resembles wet sand.
- Press this mixture firmly and evenly into the bottom of a 9×13 inch baking dish. A flat-bottomed glass or measuring cup helps to press it down tightly.
- Place the crust in the refrigerator to set while you prepare the next layer.
Step 2: Make the Cheesecake Layer
- In a large bowl, using an electric hand mixer or a stand mixer, beat the softened cream cheese until it is completely smooth and lump-free.
- Add the powdered sugar and vanilla extract. Beat again on medium speed until the mixture is smooth and well combined. Scrape down the sides of the bowl as needed.
- Gently fold in the first 8-ounce tub of Cool Whip (or homemade whipped cream) until no white streaks remain. Be gentle to keep the filling light and fluffy.
Step 3: Assemble the Layers
- Remove the dish from the refrigerator. Spread the cheesecake mixture evenly over the chilled crust.
- Spread the second 8-ounce tub of Cool Whip evenly over the cheesecake layer.
- Carefully spoon the cherry pie filling over the whipped topping layer and spread it out gently.
- Cover the dish with plastic wrap and refrigerate for at least 4 hours, or preferably overnight. This chilling time is essential for the layers to set and the flavors to meld.
Step 4: Serve
· Cut into squares and serve cold. Store any leftovers covered in the refrigerator for up to 3-4 days.
Pro-Tips for the Perfect Lush:
· Room Temperature Cream Cheese is Non-Negotiable: This is the most important step! If the cream cheese is cold, you will end up with a lumpy filling no matter how long you mix it.
· Press the Crust Firmly: A well-packed crust won’t crumble when you cut into the dessert.
· Fold, Don’t Stir: When incorporating the Cool Whip into the cream cheese, use a folding motion with a spatula. Whipping or beating it will deflate the Cool Whip and make the layer denser.
· Drain the Cherries (Optional): If you prefer a less juicy topping and cleaner slices, you can place the cherry pie filling in a strainer for 10-15 minutes to let some of the excess liquid drain off before spreading.
· Easy Clean Slices: For picture-perfect slices, dip your knife in warm water and wipe it clean between each cut.
Delicious Variations:
· Different Crust: Use crushed Oreos (with the filling) instead of graham crackers. Omit the sugar from the crust if using Oreos.
· Different Fruit: Not a cherry fan? This recipe is incredibly versatile. Use blueberry, strawberry, or apple pie filling instead.
· Lemon Twist: Add 2 tablespoons of lemon juice and 1 teaspoon of lemon zest to the cheesecake layer for a refreshing lemon cherry flavor.
· Chocolate Lush: Use a chocolate wafer crust, add 1/2 cup of cocoa powder to the cheesecake layer, and top with chocolate shavings instead of fruit.
Enjoy this cool, creamy, and effortlessly impressive dessert
Conclusion
Congratulations on making this delicious Cherry Cheesecake Lush Layers! We hope you and your loved ones enjoyed every bite of this flavorful dish. This recipe is perfect for sharing with family and friends, and we’re confident it will become a regular favorite in your kitchen.
🍽️ Looking for more amazing recipes? Browse through our collection of delicious dishes on YumPost! From quick weeknight dinners to impressive desserts, we have something for every taste and occasion.
💬 Did you love this recipe? We’d love to hear from you! Share your experience in the comments below and let us know how it turned out. Your feedback helps us create even better recipes for you!
Share This Recipe
If you enjoyed this Cherry Cheesecake Lush Layers, please share it with your friends and family! Help us spread the joy of delicious homemade cooking by sharing this recipe on your favorite social media platforms. Your support means the world to us! ❤️
Don’t forget to explore more recipes on our website and discover your next culinary adventure!