
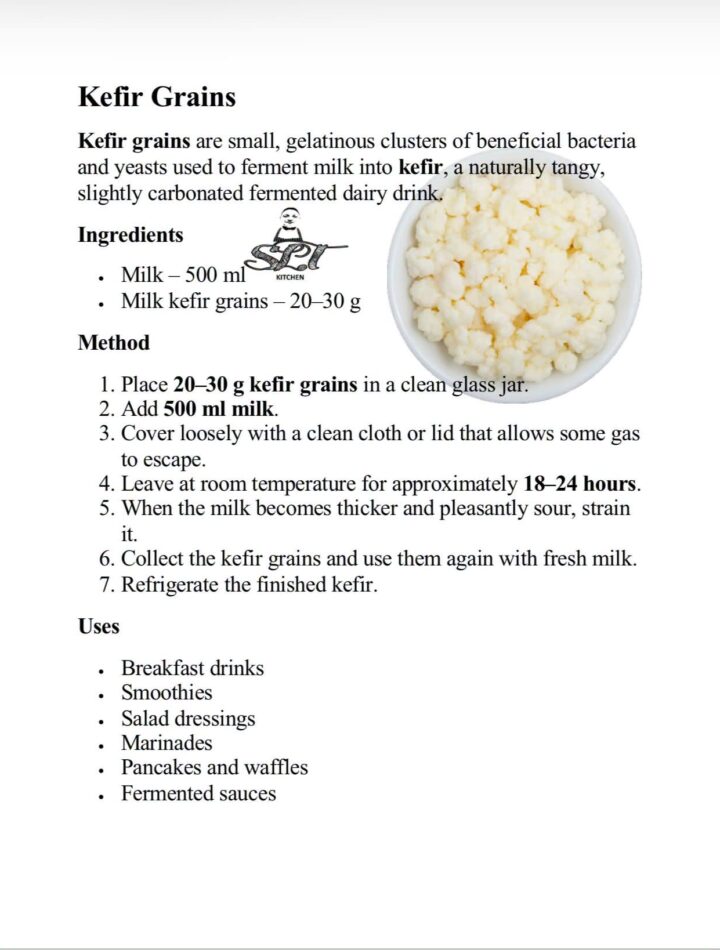
Homemade milk kefir is a creamy, pleasantly tangy fermented drink made with only two ingredients: milk and live kefir grains. The grains contain a natural community of beneficial bacteria and yeasts that ferment the milk, giving kefir its characteristic flavor and texture.
Once you have active kefir grains, you can reuse them continuously to prepare a fresh batch every day.
Preparation Time: 5 minutes
Fermentation Time: 18–24 hours
Total Time: About 24 hours
Yield: Approximately 2 cups
Course: Drink
Cuisine: International
What Are Kefir Grains?
Milk kefir grains are small, soft clusters that resemble tiny cauliflower florets. Despite their name, they are not cereal grains. They contain living cultures of bacteria and yeasts held together in a natural matrix of proteins and polysaccharides.
When added to milk, these cultures consume some of its lactose and produce a slightly fizzy, tart fermented drink.
Milk kefir grains are different from water kefir grains and should not be used interchangeably.
Ingredients
- 20–30 g active milk kefir grains
- 500 ml pasteurized whole milk
Whole milk generally produces the creamiest kefir, but pasteurized semi-skimmed or low-fat milk may also be used.
Equipment
- One clean glass jar
- Breathable cloth, paper coffee filter, or loose-fitting lid
- Rubber band, if using a cloth
- Plastic, nylon, or stainless-steel strainer
- Wooden, silicone, or plastic spoon
- Clean glass bottle or storage jar
Instructions
1. Prepare the jar
Wash the glass jar and utensils thoroughly with hot, soapy water. Rinse them well and allow them to dry.
The jar does not need to be medically sterile, but it should be clean and free from detergent residue.
2. Add the kefir grains
Place 20–30 g of active milk kefir grains in the clean glass jar.
A ratio of approximately one tablespoon of kefir grains to two cups of milk works well for most kitchens.
3. Add the milk
Pour 500 ml of pasteurized milk over the kefir grains.
Leave some empty space at the top of the jar because fermentation may produce gas and cause the contents to expand slightly.
Stir gently if desired.
4. Cover the jar
Cover the jar with a clean cloth or coffee filter and secure it with a rubber band. Alternatively, use a lid that is placed on the jar loosely enough to prevent excessive pressure from accumulating.
Keep the jar away from insects, dust, direct sunlight, and strong heat.
5. Ferment the kefir
Leave the jar at room temperature, ideally between 68–77°F (20–25°C), for approximately 18–24 hours.
The exact fermentation time will depend on the room temperature, the quantity and activity of the grains, and your preferred flavor.
Begin checking the kefir after about 18 hours. It is ready when it has thickened, smells pleasantly tangy, and may show small pockets of whey.
6. Strain the kefir
Place a strainer over a clean bowl or jar and pour in the fermented milk.
Gently stir or shake the strainer until the liquid kefir passes through. Do not press or crush the grains.
The clusters remaining in the strainer are your kefir grains.
7. Start the next batch
Transfer the recovered grains to another clean jar and add fresh milk. Repeat the same fermentation process.
The grains usually do not need to be rinsed between batches. Frequent rinsing may disturb their microbial community.
8. Chill the finished kefir
Transfer the strained kefir to a covered container and refrigerate it.
Chilling slows fermentation and usually gives the drink a smoother flavor and thicker consistency. Stir or shake it gently before serving because some separation is natural.
Optional Second Fermentation
For a milder flavor and light natural carbonation, the strained kefir can undergo a second fermentation.
Pour it into a clean bottle, leaving some empty space at the top. Add an optional flavoring such as:
- A strip of lemon or orange peel
- A few berries
- A small piece of cinnamon stick
- ½ teaspoon vanilla extract
Close the bottle and leave it at room temperature for 4–8 hours before refrigerating it.
Open the bottle carefully because pressure may build during fermentation. If using a tightly sealed bottle, release the pressure periodically.
How to Know When Kefir Is Ready
Properly fermented kefir should have:
- A pleasantly tangy, yogurt-like aroma
- A slightly thickened texture
- A mildly sour flavor
- Occasional small bubbles
- Some separation into curds and pale yellow whey
A little separation does not mean the kefir has spoiled. It usually means that it fermented longer than necessary. Stir it together or shorten the fermentation time for the next batch.
Important Food-Safety Advice
Always use pasteurized milk and clean equipment.
Discard the entire batch and the grains if you notice:
- Pink, orange, green, blue, or black discoloration
- Visible fuzzy mold
- A rotten or putrid odor
- Unusual contamination from dirty utensils or insects
Kefir should smell sour and fermented, but it should not smell rotten.
People who are pregnant, immunocompromised, elderly, or medically vulnerable should consult a qualified healthcare professional before consuming homemade fermented products.
How to Store Milk Kefir
Store finished kefir in a sealed container in the refrigerator and consume it within approximately 5–7 days.
It will continue to ferment slowly while refrigerated, so its flavor may become more acidic over time.
How to Take a Break from Making Kefir
Place the kefir grains in a clean jar and cover them completely with fresh milk. Close the jar and store it in the refrigerator for up to one week.
For a longer break, replace the milk weekly. The grains may need several room-temperature fermentation cycles to become fully active again.
Troubleshooting
My kefir is too thin
The room may be too cold, the grains may still be adapting, or the kefir may need more time. Allow it to ferment slightly longer or move it to a moderately warmer location.
My kefir separates quickly
You may be using too many grains, the room may be warm, or the fermentation period may be too long. Use fewer grains or strain the kefir sooner.
My kefir is too sour
Shorten the fermentation time, use more milk, or refrigerate the kefir as soon as it thickens.
My kefir grains are not growing
Give them several consistent fermentation cycles using pasteurized dairy milk. Growth can vary according to temperature, milk quality, and the condition of the grains.
Should kefir grains touch metal?
Brief contact with a clean stainless-steel strainer is generally acceptable. Avoid prolonged contact with reactive metals such as aluminum or copper.
Ways to Use Homemade Kefir
Milk kefir can be used in:
- Breakfast drinks
- Fruit smoothies
- Overnight oats
- Salad dressings
- Marinades
- Pancakes and waffles
- Muffins and quick breads
- Cold soups
- Creamy sauces
- Homemade dips
Simple Kefir Berry Smoothie
Blend together:
- 1 cup chilled milk kefir
- 1 cup frozen berries
- ½ banana
- 1 teaspoon honey, optional
- ½ teaspoon vanilla extract
Blend until smooth and serve immediately.
Frequently Asked Questions
Can I use plant-based milk?
Milk kefir grains depend on nutrients found in dairy milk for long-term growth. They may ferment certain plant-based drinks temporarily, but they should regularly be returned to dairy milk to remain healthy.
Can I use lactose-free milk?
Results vary. Some lactose-free dairy products may work, but conventional pasteurized milk is generally more reliable for maintaining active grains.
Do I need to rinse kefir grains?
No. Healthy grains generally do not need to be rinsed after every batch. Simply strain them and place them directly into fresh milk.
Is homemade kefir lactose-free?
No. Fermentation reduces some lactose, but homemade milk kefir can still contain lactose and may not be appropriate for everyone with lactose intolerance or milk allergy.
Why is my kefir fizzy?
A small amount of carbonation is normal because the yeasts produce gas during fermentation. Longer fermentation and tightly closed containers can increase carbonation.
Estimated Nutrition per 1-Cup Serving
- Calories: 150
- Protein: 8 g
- Carbohydrates: 12 g
- Fat: 8 g
- Calcium: Approximately 300 mg
Nutritional values are estimates and depend on the milk used and the fermentation conditions.
Final Note
Making milk kefir at home is a simple cycle: add fresh milk to active grains, leave it to ferment, strain it, and repeat. With clean equipment, pasteurized milk, and consistent care, the same kefir grains can produce fresh batches for a very long time.